Chuck jaws are the “contact interface” between the chuck and the workpiece. They transfer clamping force, define the contact area, and directly influence whether the part will seat reliably from setup to setup.
If the jaws are chosen incorrectly, the symptoms are usually very practical: the part slips on heavy cuts, runout grows, marks appear on the surface, thin-walled parts deform, and operators start tightening harder — which reduces chuck life and increases risk.
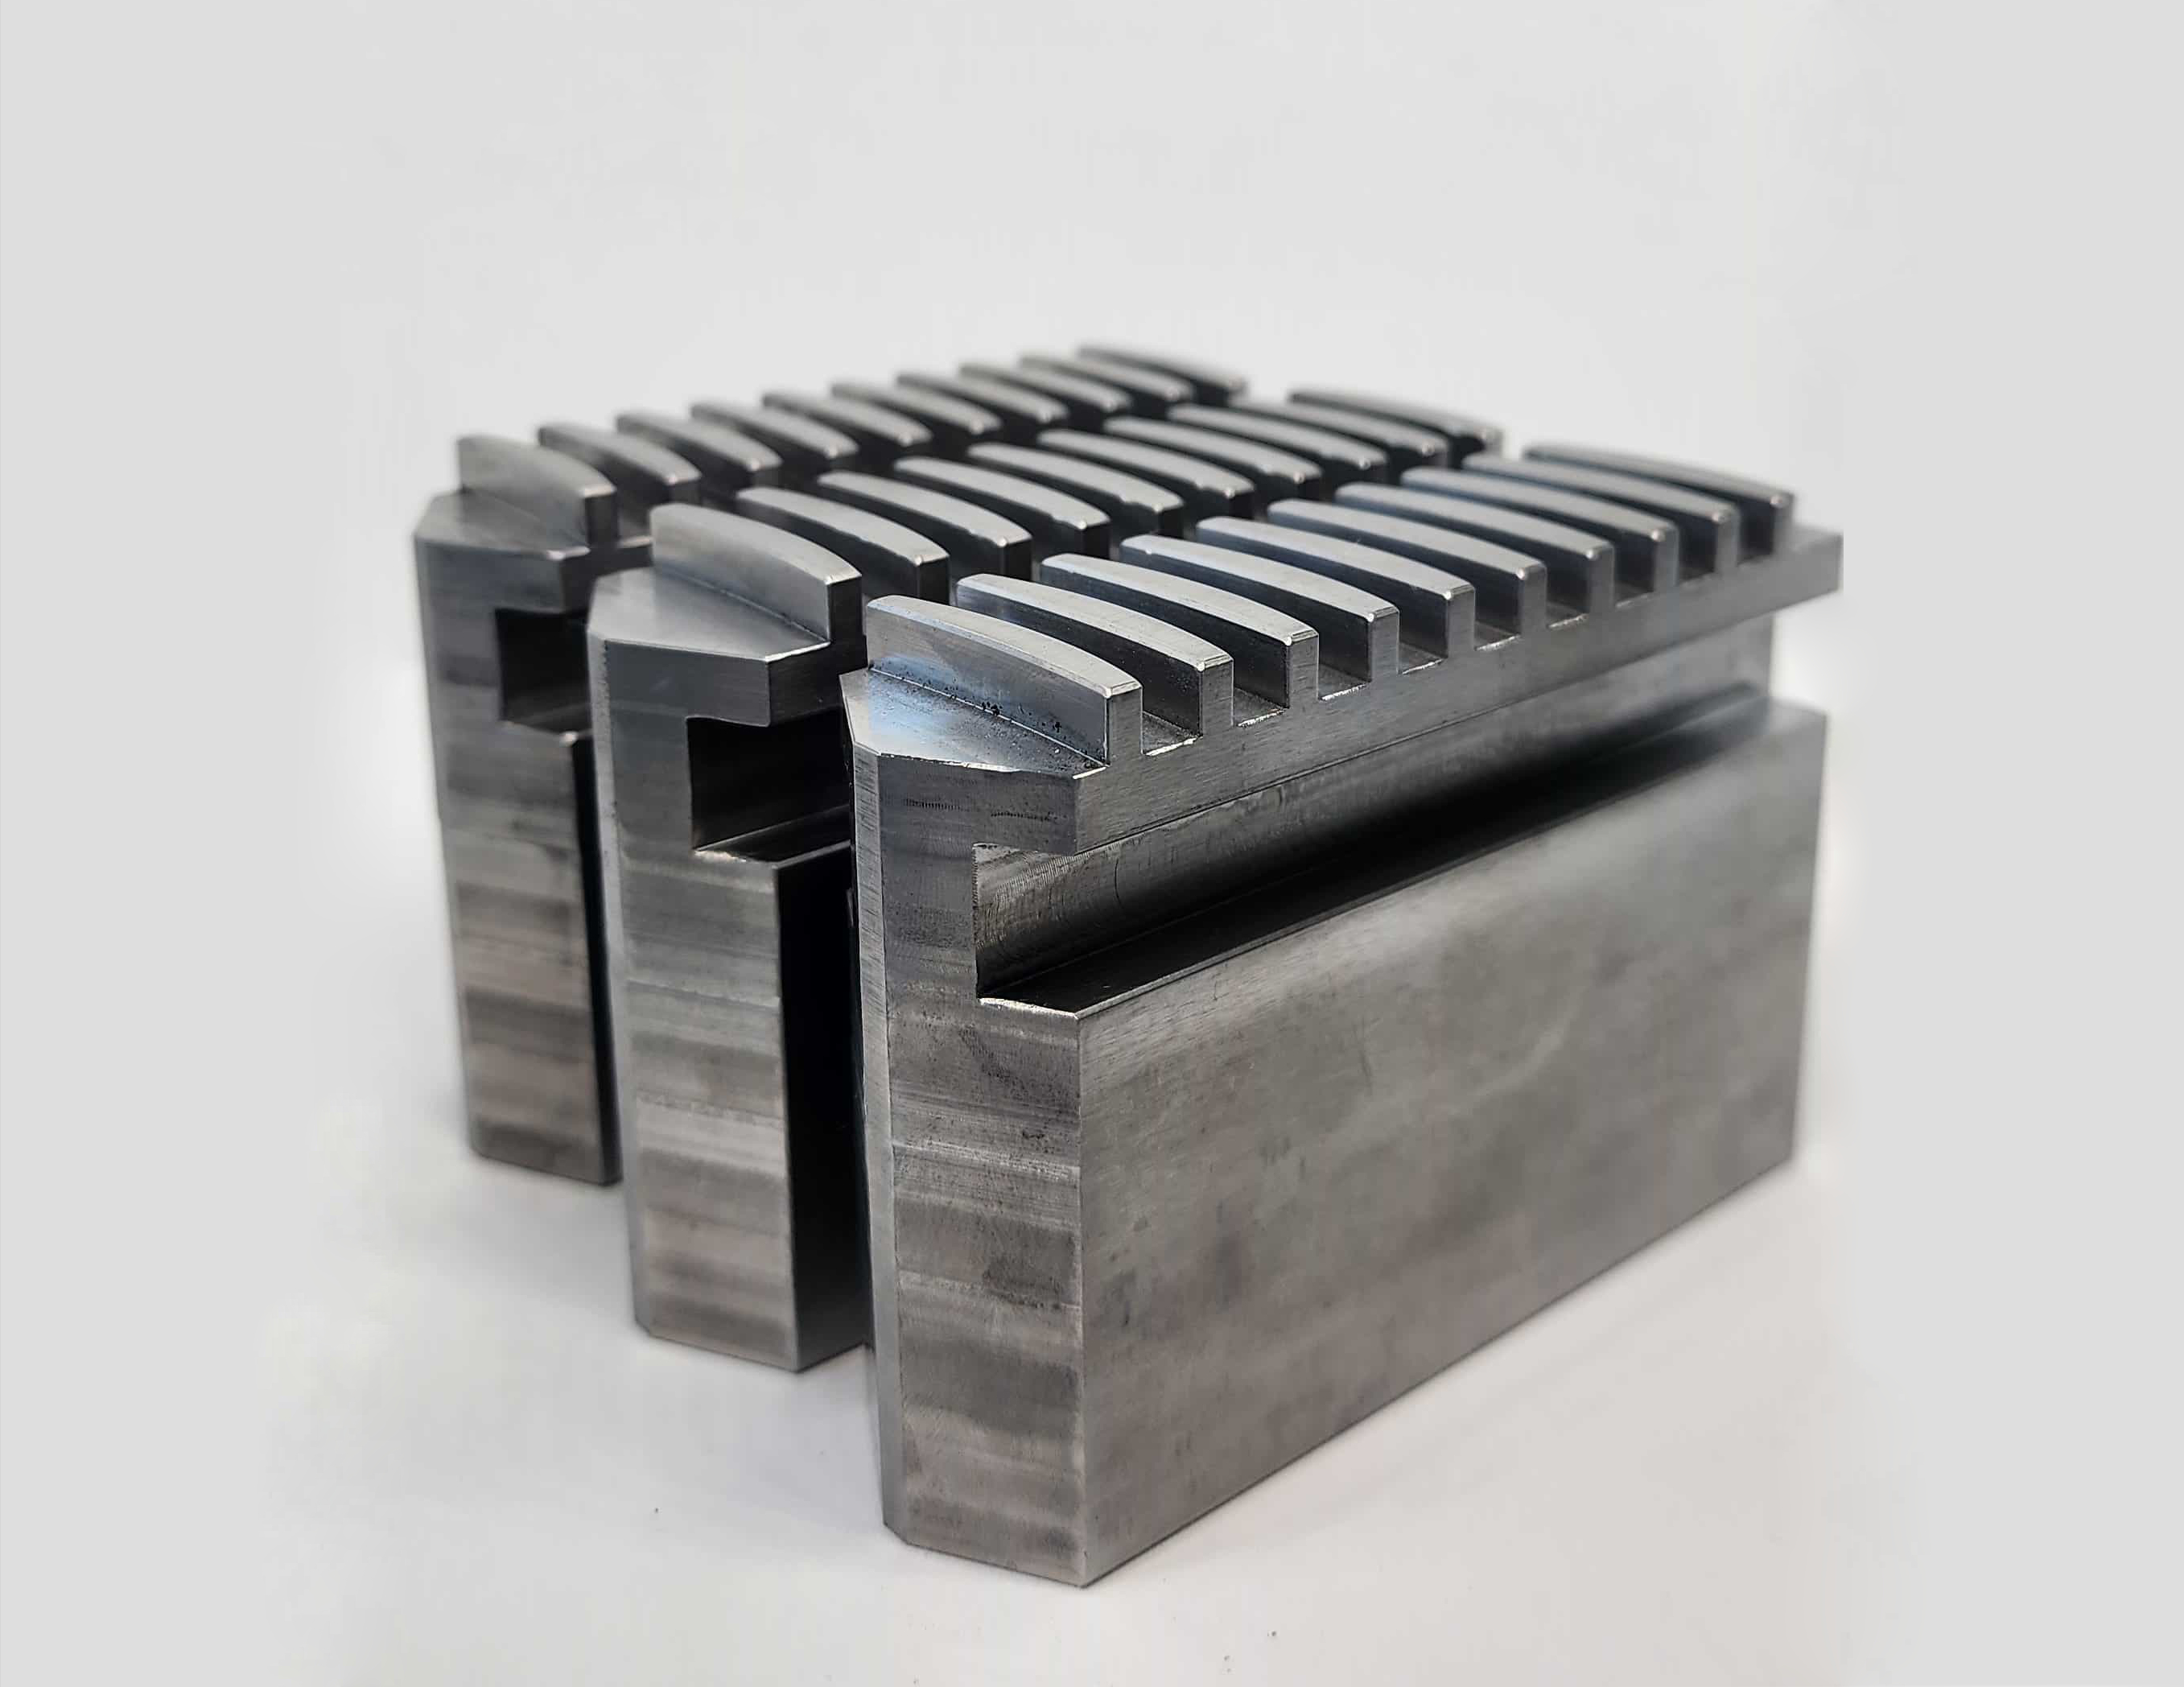
In this article we use the classification straight, reverse, and combination jaws (note: naming can vary slightly between manufacturers, but the logic remains the same). The right choice affects:
- where you clamp the part (OD or ID);
- the range of diameters you can hold confidently;
- setup rigidity and vibration resistance;
- changeover speed in serial work;
- repeatable positioning and achievable runout.
Promservice manufactures chuck jaws and other tooling for metal-cutting machines — including jaws made to drawing or to sample, for replacement and modernization.
What to define before choosing jaws
Before you decide “which jaw type,” answer these five questions. They will usually lead you to the correct option.
- Where is the best clamping surface? Outside diameter (external clamping) or inside diameter (internal clamping)?
- What is the part geometry? Solid bar/shaft, thin-walled sleeve, ring, flange, casting, “delicate” finished surface.
- What are the cutting conditions? Light finishing or heavy roughing, high RPM, interrupted cuts.
- How much repeatability do you need? Is it acceptable to indicate and adjust each time, or should the part repeat “drop-in”?
- Do you need tool access? Will the jaws block facing, grooving, threading, or turning close to a shoulder/flange?
Once these are clear, the jaw type becomes a practical decision, not a guess.
Straight jaws: the default choice for external clamping
Straight jaws are most commonly used for external clamping — holding a part on its outside surface (shaft, bar stock, cylindrical blank).
Why straight jaws are widely used:
- they are simple and predictable for most round parts;
- they provide good rigidity when contact length is sufficient;
- they fit typical “bar work” and general turning;
- they are easy to set up and maintain.
When straight jaws are usually the right option:
- turning shafts, pins, and cylindrical blanks;
- roughing and semi-finishing (when the part is held with adequate grip length);
- jobs where fast changeovers are important and the contact surface is not fragile.
Typical limitations to keep in mind:
- thin-walled parts can become oval from external clamping force;
- short contact zones increase the risk of slipping under load;
- if the jaw contacts the part “on an edge,” surface marking is likely.
Practical note: marks on the part are not always caused by “too much force.” Often the real reason is too little contact area (point/edge contact). In many cases, changing the jaw geometry or using a dedicated profile fixes the problem without increasing force.
Reverse jaws: for internal clamping (ID grip)
Reverse jaws are used for internal clamping — holding the part by its inner diameter (sleeves, rings, parts with a bore).
Depending on the chuck design, reverse clamping can be achieved by installing jaws in reverse orientation or by using a dedicated jaw set. The goal is the same: clamp on the ID to free the OD for machining or to protect an external surface.
Reverse jaws are a strong choice when:
- you need full access to the outside diameter for turning;
- the outside surface is finished and must not be marked;
- the process is built around a bore as the functional datum.
Advantages of internal clamping:
- better tool access to the OD and many features;
- in many cases, easier to keep OD concentric to a functional bore (if the process is designed correctly);
- reduced risk of marks on the outside surface.
Typical risks and constraints:
- thin-walled rings/sleeves can expand if clamping force is excessive;
- the bore must be reasonably round and strong enough to carry load;
- shallow grip depth increases the risk of part tilt or pullout under heavy cutting.
Internal clamping is not automatically “safer.” The best solution for delicate rings is often a proper jaw profile, soft jaws/top jaws, or an intermediate mandrel — depending on your tolerance and surface requirements.
Combination jaws: versatility when you clamp both ways
Combination jaws are designed to cover both external and internal clamping within a certain diameter range, reducing the need to swap jaw sets.
Exact geometry depends on the chuck model and jaw design. Typically, combination jaws include working surfaces that support two clamping scenarios (OD/ID) with minimal reconfiguration.
Combination jaws make sense when:
- you switch between OD and ID clamping on similar parts;
- you want quicker changeovers and fewer tooling swaps;
- your cutting conditions are moderate and the part range is stable.
Benefits:
- faster setup changes in mixed production;
- simpler tooling management for a machine or cell;
- good choice for small-to-medium series with consistent diameters.
Trade-offs:
- versatility often means compromise at the extremes of the clamping range;
- for maximum grip under heavy roughing, a dedicated jaw type or a part-specific profile can be better;
- correct use within the recommended diameter range is critical for repeatability.
Quick selection guide
A few practical “rules of thumb”:
- Solid shaft / bar stock / cylindrical blank → usually straight jaws (external clamping).
- Sleeve / ring / part with a functional bore, need OD access → reverse jaws (internal clamping).
- Mixed jobs, frequent OD↔ID changes on similar parts → combination jaws.
- Thin-walled or high-finish surfaces → consider a dedicated profile (often soft jaws/top jaws or a special clamping solution), even if you start from straight/reverse logic.
How to choose jaws step-by-step
Use this simple sequence to avoid trial-and-error:
Step 1 — Choose the clamping datum OD or ID. This defines the clamping direction immediately.
Step 2 — Check part stiffness Thin walls, long stick-out, soft material, critical finish — all demand larger contact area and controlled force distribution.
Step 3 — Ensure proper contact and grip depth Avoid edge contact. The heavier the cut, the more you need stable, full-area contact and sufficient grip length.
Step 4 — Verify tool access Make sure jaw type and jaw shape do not block key operations.
Step 5 — Define repeatability expectations If you need “set it and run,” jaw accuracy and finishing matter: seating surfaces, geometry, grinding, and the condition of the chuck itself.
If you are unsure, it’s often faster to select jaws together with the manufacturer using the part drawing and real machining conditions.
Common mistakes that increase runout and cause marks or slipping
- clamping on a small area (edge contact) instead of a stable support zone;
- choosing the wrong clamping direction (OD clamp where ID datum is the correct base, or vice versa);
- over-tightening thin-walled parts, causing ovality before machining even starts;
- mixing jaw positions (especially on self-centering chucks), losing repeatability;
- expecting new jaws to “fix” everything while the chuck is worn or contaminated;
- skipping finishing where it is needed (grinding/fit), resulting in unstable runout.
Need chuck jaws for your lathe chuck?
Promservice manufactures straight, reverse, and combination chuck jaws to drawing or to sample. To select the best option for your job, it helps to provide:
- chuck model (or photos of the jaw interface);
- part drawing (or a sample part);
- material, cutting conditions, and required repeatability/runout;
- batch size and changeover frequency.
With the right jaw type and geometry, you get more stable machining, less scrap, and a longer chuck service life.