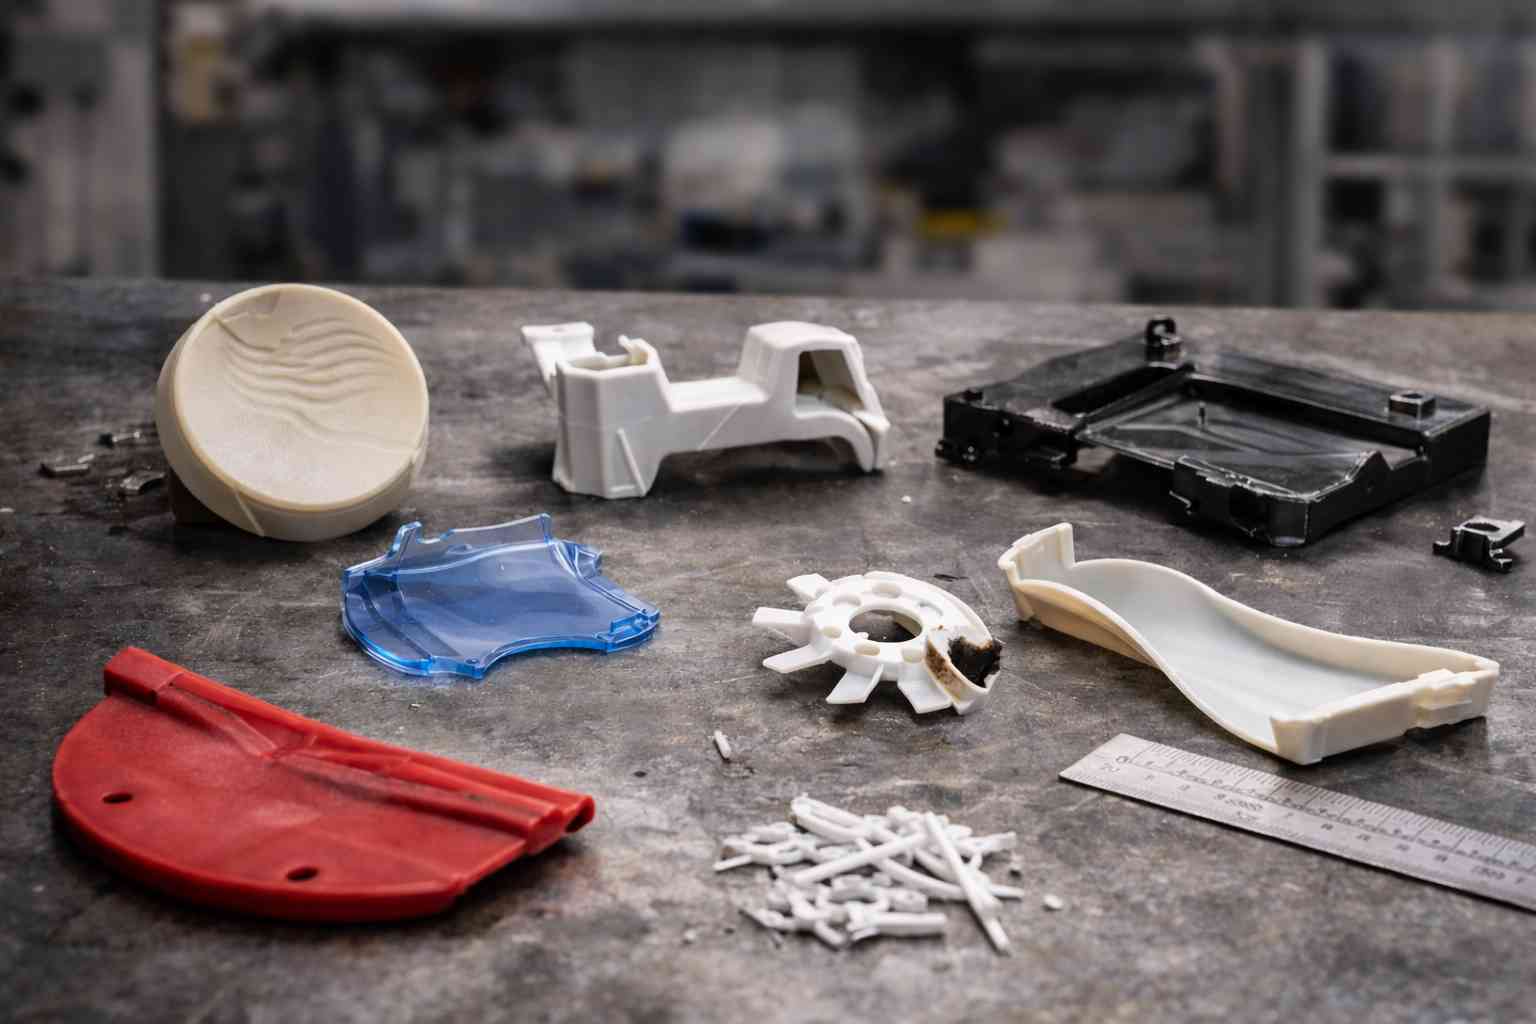
Even a well-designed mold and a modern injection molding machine can produce defects if material, tooling, and process settings are not balanced. In serial production, a small defect quickly becomes a big cost: scrap, rework, downtime, and customer claims.
This article is a practical checklist for engineers and technologists: diagnose defects by symptoms, understand the most common root causes, and decide what to check first. Promservice supports customers in Ukraine with injection mold design and manufacturing, plastic injection molding, and tooling service — including defect elimination through mold repair and modernization.
How to use this guide
For each symptom below, look at three blocks:
- Process (machine settings and cycle);
- Material (drying, contamination, viscosity);
- Mold (gating, venting, cooling, wear, alignment).
In practice, defects are often a combination of two or three factors, so start with quick checks and then move to deeper tooling changes if needed.
1) Short shot (underfilling / incomplete part)
What it looks like: the cavity is not fully filled; missing areas usually appear at the end of flow.
Typical causes to check:
- Process: injection speed too low, insufficient pressure, short fill time, early freeze-off, inadequate holding profile.
- Material: too cold melt, high viscosity grade, moisture causing inconsistent flow, incorrect regrind ratio.
- Mold: restricted gates/runners, poor venting (air blocks flow), cold spots due to cooling imbalance, too thin walls vs flow length.
Fast actions: check venting at end-of-fill, confirm melt and mold temperatures, review gate size and runner restrictions.
2) Flash (excess plastic at parting line)
What it looks like: thin plastic “fins” on the parting line, around ejector pins, or at inserts.
Typical causes to check:
- Process: too high injection/holding pressure, too high speed, too long holding time, clamp force too low.
- Material: very low viscosity melt, overheating.
- Mold: worn parting surfaces, misalignment, damaged inserts, excessive vent depth, insufficient support (deflection of plates).
Fast actions: reduce packing, verify clamp force, inspect parting line and alignment, check for wear and damaged shut-offs.
3) Sink marks (surface depressions)
What it looks like: dimples on the surface, often above ribs, bosses, or thick areas.
Typical causes to check:
- Process: insufficient holding pressure/time, gate freezes too early, wrong packing profile.
- Material: high shrinkage materials (depends on polymer), moisture can worsen surface quality.
- Mold / part design: thick wall transitions, heavy ribs, gate too small or too far from thick zones, inadequate cooling near hot spots.
Fast actions: optimize holding phase, improve cooling in hot zones, consider gate relocation or adding local cooling in inserts.
4) Warpage (bending / twisting)
What it looks like: part bends after ejection, does not fit in assembly, geometry changes over time.
Typical causes to check:
- Process: uneven packing, too early ejection, inconsistent cycle, unstable mold temperature.
- Material: anisotropic shrinkage (fiber-filled materials), moisture issues, inconsistent regrind.
- Mold: unbalanced cooling (core vs cavity), hot spots, unbalanced flow in multi-cavity molds, poor venting causing incomplete packing.
Fast actions: measure inlet/outlet coolant temperatures, confirm balanced cooling circuits, tune packing, and review cooling layout.
5) Burn marks (dieseling)
What it looks like: dark streaks, brown/black marks, often at end-of-fill or around trapped air zones.
Typical causes to check:
- Process: too high speed at end-of-fill, excessive compression of trapped air, overheating.
- Material: degradation due to high temperature or residence time.
- Mold: insufficient venting, gas traps behind ribs/bosses, blocked vent grooves.
Fast actions: clean vents, adjust speed profile, add venting in gas-trap zones if defects repeat.
6) Weld lines (knit lines)
What it looks like: visible line where two flow fronts meet; can be cosmetic or structural weakness.
Typical causes to check:
- Process: low melt temperature, low speed, poor packing, inadequate holding pressure.
- Material: fillers can reduce weld strength; moisture can worsen appearance.
- Mold: gate location forces multiple flow fronts, poor venting at weld zone, cold mold surface.
Fast actions: increase melt temperature (within limits), optimize speed and packing, improve venting and consider changing gate location.
7) Splay / silver streaks
What it looks like: silvery streaks or “spray” marks on the surface, often near the gate.
Typical causes to check:
- Process: too fast injection, overheating causing volatile release, long residence time.
- Material: moisture (insufficient drying), contamination, too much regrind.
- Mold: cold slug issues, poor venting, sharp transitions in runners/gates.
Fast actions: verify drying and material handling, reduce shear (speed), review gate and runner transitions.
8) Flow marks / jetting
What it looks like: wavy lines or “worm-like” patterns, often from a jet entering the cavity.
Typical causes to check:
- Process: injection too fast at start, wrong velocity profile.
- Material: low melt temperature or unstable viscosity.
- Mold: gate design causes free jet (not impinging on a wall), insufficient gate land, poor flow guidance.
Fast actions: adjust injection profile, modify gate direction/geometry so the melt attaches to the wall and fills smoothly.
9) Black specks / contamination
What it looks like: dark particles in the part, sometimes random.
Typical causes to check:
- Process: degraded polymer due to overheating, dead spots in barrel, insufficient purging.
- Material: contamination in raw material or regrind, dirty hopper/dryer.
- Mold: degraded residues in hot runner (if used), dirty cavity.
Fast actions: purge, review barrel temperature and residence time, improve material cleanliness and handling.
10) Dimensional instability (parts “drift” out of tolerance)
What it looks like: dimensions change between cycles or shifts; assembly issues appear randomly.
Typical causes to check:
- Process: unstable melt/mold temperatures, inconsistent holding, unstable water flow.
- Material: variable moisture, batch-to-batch variation, inconsistent regrind ratio.
- Mold: cooling contamination (scale), worn guiding elements, inconsistent ejection and deformation at release.
Fast actions: stabilize temperature control, monitor coolant flow and delta-T, inspect guiding and wear components.
What to check first: the “fast triage” order
If a defect appears suddenly in production, start with quick and high-impact checks:
- Material handling: drying parameters, contamination, regrind percentage.
- Cooling: stable water flow, clean channels, consistent temperature.
- Venting: clean vent grooves, no blocked areas at end-of-fill.
- Process stability: repeatable cycle time and packing profile.
- Tool condition: wear, alignment, damaged shut-offs, gate condition.
This approach often eliminates the defect without expensive redesign — but if the defect repeats in the same zone, engineering changes in the mold are usually the correct long-term solution.
How Promservice helps eliminate injection molding defects
Promservice provides a full cycle of tooling and production support:
- analysis of the part and defect location (symptom → probable root cause);
- inspection of the mold (gating, cooling, venting, wear, alignment);
- trial runs and process tuning to widen the stable process window;
- mold repair and refurbishment (restoring shut-offs, guiding, inserts);
- modernization: adding venting, improving cooling, optimizing gating, replaceable inserts in wear areas.
We focus on solutions that reduce scrap and stabilize serial production — not just “temporary parameter fixes”.
Need stable injection molding in Ukraine?
If you face recurring injection molding defects — short shots, flash, sink marks, warpage, burn marks, or cosmetic issues — contact Promservice. We will help diagnose the problem, restore or upgrade tooling, and bring your parts back to specification with a stable, repeatable process.